

Deploying to Production
One installer. Any cloud. A fraction of the hosting bill.
Production for the agentic era
Development changed eras: Claude builds in the playground, you approve, and the work ships. Production is the other half of that pipeline. Provision an Ubuntu 24.04 LTS server on any cloud you own, paste one installer command, and Pete Panel comes up with free SSL, hardened defaults, and one-click migration of everything your agent built. Enterprise performance at cloud prices, no reseller markup, no lock-in.
Cloud prices, not hosting prices
Managed WordPress bills by traffic and seats. Pete Panel runs on a server you rent at a flat monthly rate, so a spike in visitors doesn’t spike the invoice. See it against WP Engine →
Hardened by default, not by upgrade
Every site sits behind ModSecurity running the OWASP Core Rule Set, and each install guide hardens SSH-key login and the UFW firewall. No security tier to buy, no security plugin to install later.
Sized to your server, not to a template
The installer reads the server’s RAM and CPU count and sets the Docker Compose resource limits to match, so the hardware you pay for is the hardware you use. Move to a bigger machine and the stack scales with it.
Tuned for speed, not throttled
Apache MPM Event, HTTP/2, Redis, and OPcache, tuned by default. Your server’s full power, not a shared plan’s leftovers.
Free SSL, not an upsell
Let’s Encrypt certificates auto-provision and renew. Every site serves HTTPS from its first request, with no add-on to buy.
Your server, no lock-in
Root shell, full Docker, phpMyAdmin, PHP 8.1 to 8.3. Migrate from your playground in one command, switch clouds whenever you want.
It’s the stack behind our performance numbers: up to 432 million cached visits a month on a $48 Linode. See the benchmarks → Then pick your cloud below.
Linode
Shared CPU · Linode 8GB (or higher) · Ubuntu 24.04 LTS · five steps to live
From an empty Linode account to a live Pete Panel in five short steps. The $48/month Linode 8GB is the same machine our benchmarks call the starter tier.
- Provision
- Connect
- Install
- Launch
- Harden
The steps, start to finish
- Provision the server: Linodes → Create Linode: image Ubuntu 24.04 LTS, region closest to your users, plan Shared CPU → Linode 8GB (or higher), label
wp-pete-prod, paste your SSH public key. Create, wait for Running, copy the IPv4. - Connect over SSH:
ssh root@PUBLIC_SERVER_IPfrom your local terminal. If you didn’t paste your public key when creating the Linode, copy it from~/.ssh/id_ed25519.pubon your dev machine into~/.ssh/authorized_keyson the server, one key per line, then set the permissions SSH insists on:chmod 700 ~/.sshandchmod 600 ~/.ssh/authorized_keys. Key access is required once you harden SSH in step 5. - Run the Pete installer: paste the one-liner above; it downloads the script, makes it executable, and launches it.
- Launch Pete in your browser: when the script completes, visit
http://YOUR_SERVER_IP. - Harden SSH & firewall (optional, recommended): move SSH to port 2222, rate-limit it with UFW, allow 80/443, enable the firewall. Next login:
ssh -p 2222 root@YOUR_SERVER_IP.
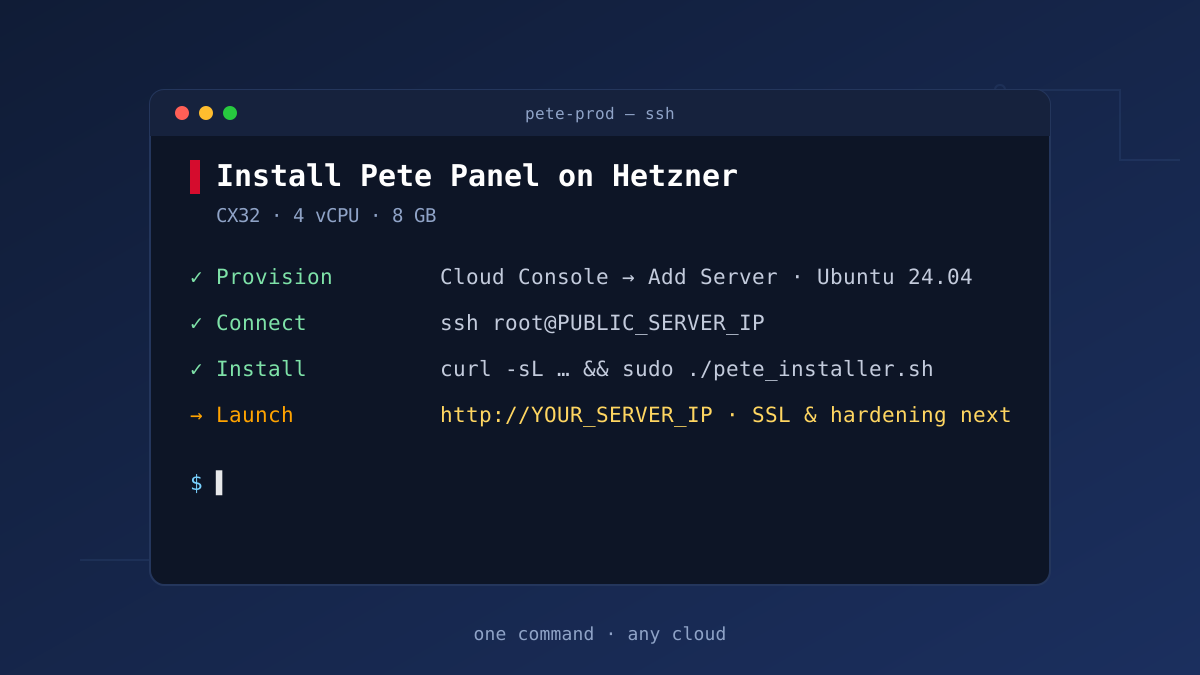
Hetzner
Cloud · CX32 (4 vCPU / 8 GB) · Ubuntu 24.04 LTS
The best price-per-GB of the four. A few clicks in the Cloud Console, one SSH session, and the installer does the rest: identical stack, identical hardening.
- Add Server
- SSH key
- SSH in
- Run installer
- Launch
- Harden
The steps, start to finish
- Add the server: Hetzner Cloud Console → Add Server: location nearest your users, image Ubuntu 24.04 LTS, type Shared vCPU → CX32 (4 vCPU / 8 GB), Public IPv4 enabled.
- SSH key: add your public key so root logs in with keys, never passwords.
- Create: name it
pete-prod, click Create & Buy now, and copy the IPv4 once it’s Running. - Connect over SSH:
ssh root@PUBLIC_SERVER_IP. If you didn’t add your public key when creating the server, copy it from~/.ssh/id_ed25519.pubon your dev machine into~/.ssh/authorized_keyson the server, one key per line, then set the permissions SSH insists on:chmod 700 ~/.sshandchmod 600 ~/.ssh/authorized_keys. Key access is required once you harden SSH. - Run the Pete installer: paste the one-liner above.
- Launch Pete in your browser: visit
http://YOUR_SERVER_IPwhen the script finishes. - Harden SSH & firewall (optional, recommended): SSH to port 2222, UFW rate-limit, allow 80/443, enable. Next login:
ssh -p 2222 root@YOUR_SERVER_IP.
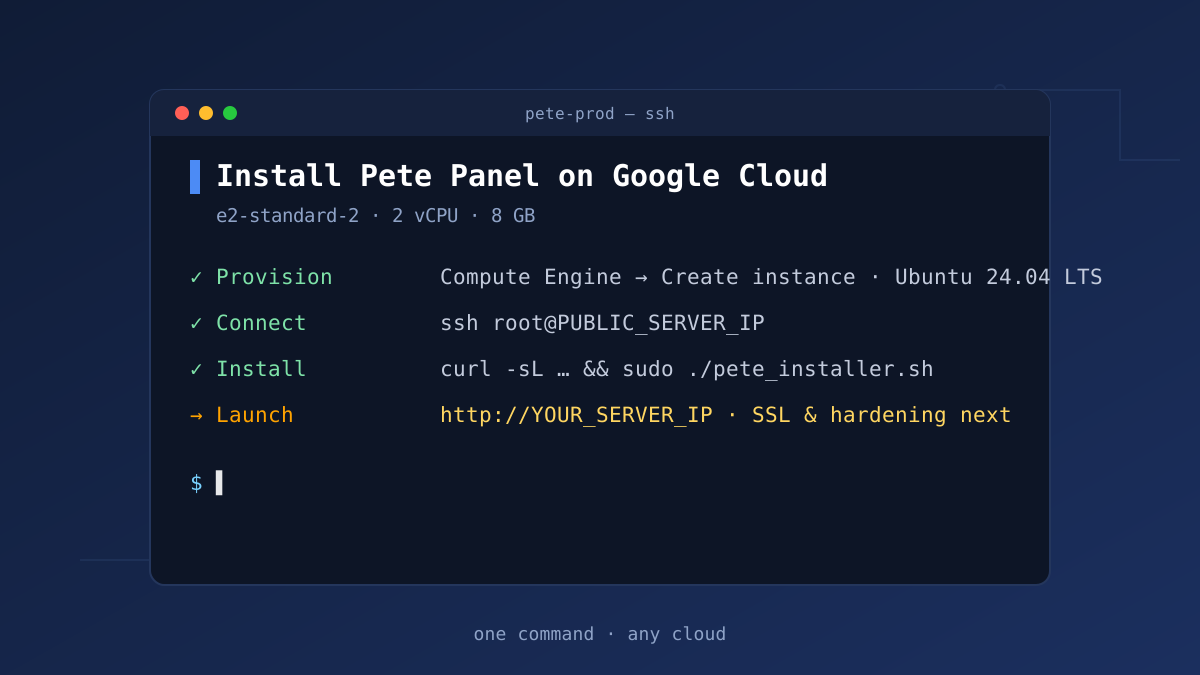
Google Cloud
Compute Engine · e2-standard-2 (2 vCPU / 8 GB) · Ubuntu 24.04 LTS
From an empty Google Cloud project to a live Pete Panel: provision the VM, pin its IP, open the web ports, then one SSH session and one command install the whole stack.
- Provision VM
- Static IP
- Open ports
- SSH in
- Run installer
- Harden
The steps, start to finish
- Provision the VM: Compute Engine → VM instances → Create instance: name
pete-prod, region/zone nearest your users, machine type e2-standard-2 (2 vCPU / 8 GB), boot disk Ubuntu 24.04 LTS (Change → OS: Ubuntu → 24.04 LTS), tick Allow HTTP and Allow HTTPS. Click Create. - Reserve & attach a static external IP: VPC network → IP addresses → Reserve external static IP address: name
pete-prod-ip, Regional, IPv4, same region as the VM. Then VM instances → pete-prod → Edit → Network interfaces → External IP:pete-prod-ip→ Save. Your DNS now survives reboots. - Open ports (only if you didn’t tick HTTP/HTTPS): VPC network → Firewall rules → Create: name
allow-web, direction Ingress, source0.0.0.0/0, protocolstcp:80,443,22. After setup, consider restricting SSH (22/tcp) to your office IPs. - Enable OS Login (recommended): Compute Engine → Metadata → Edit → Add item: key
enable-oslogin, valueTRUE(project-wide, or per-VM under the instance’s metadata), and give your user the IAM role Compute OS Login. IAM-managed SSH: easier revocation, 2FA-ready. - Connect over SSH:
ssh root@PUBLIC_SERVER_IPfrom your local terminal. If your public key isn’t on the server yet, copy it from~/.ssh/id_ed25519.pubon your dev machine into~/.ssh/authorized_keyson the server, one key per line, then set the permissions SSH insists on:chmod 700 ~/.sshandchmod 600 ~/.ssh/authorized_keys. Key access is required once you harden SSH. - Run the Pete installer: paste the one-liner above; it downloads the script, makes it executable, and launches it.
- Launch Pete in your browser: when the script completes, visit
http://YOUR_SERVER_IP. - Harden SSH & firewall (optional, recommended): move SSH to port 2222, rate-limit it with UFW, allow 80/443, enable the firewall. Next login:
ssh -p 2222 root@YOUR_SERVER_IP.
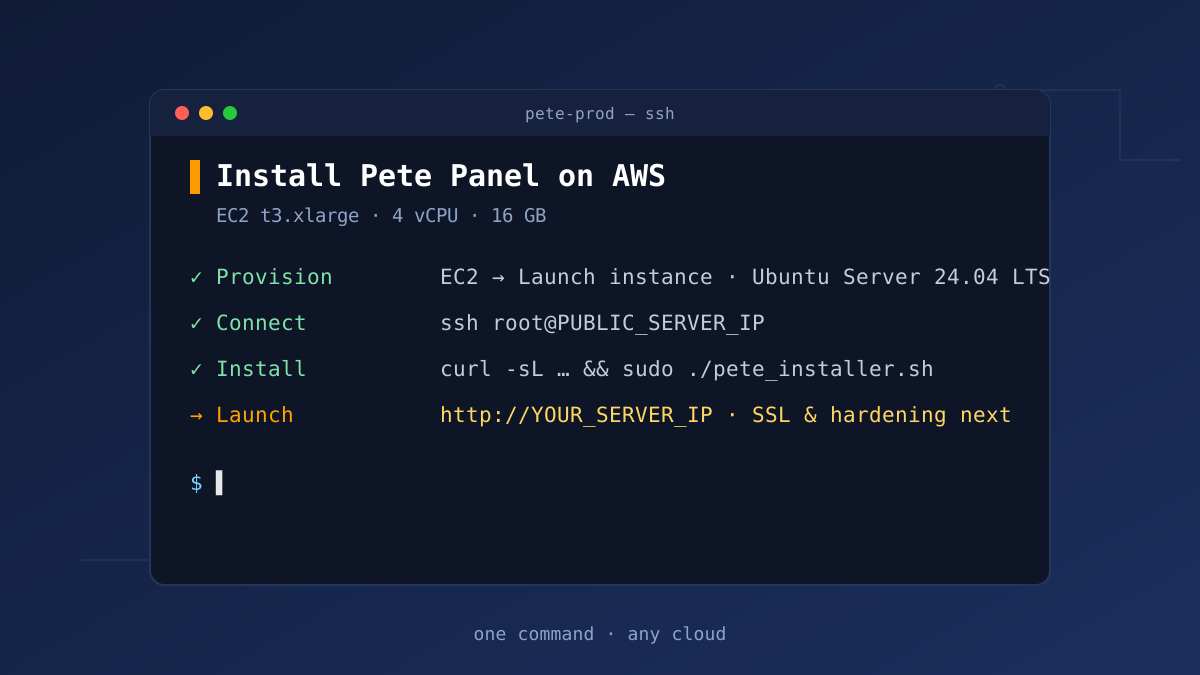
AWS
EC2 · t3.xlarge (4 vCPU / 16 GB) · 160 GB gp3 · Ubuntu Server 24.04 LTS
Launch an EC2 instance from the Ubuntu 24.04 LTS AMI, lock SSH to your IP with a security group, and the same one-liner brings up the full stack.
- Launch EC2
- Key pair
- Security group
- SSH in
- Run installer
- Harden
The steps, start to finish
- Launch the instance: EC2 → Instances → Launch instance: name
pete-prod, AMI Ubuntu Server 24.04 LTS, instance type t3.xlarge (4 vCPU / 16 GB), storage 160 GB gp3. - Key pair: create (or reuse) a key pair, download the
.pem, andchmod 400 pete-key.pemlocally. This is your only way in, so keep it safe. - Security group: allow SSH (22) from My IP, and HTTP (80) + HTTPS (443) from anywhere (
0.0.0.0/0). Launch the instance. - Elastic IP (recommended): EC2 → Elastic IPs → Allocate, then associate it with
pete-prodso the address survives stop/start cycles. - Connect over SSH:
ssh -i pete-key.pem ubuntu@PUBLIC_SERVER_IP, thensudo -ifor a root shell. To connect without the.pemand let SSH-based deploys use your everyday key, copy~/.ssh/id_ed25519.pubfrom your dev machine into/root/.ssh/authorized_keyson the server, one key per line, thenchmod 700 /root/.sshandchmod 600 /root/.ssh/authorized_keys. - Run the Pete installer: paste the one-liner above.
- Launch Pete in your browser: when the script completes, visit
http://YOUR_SERVER_IP. - Harden SSH & firewall (optional, recommended): move SSH to port 2222, rate-limit with UFW, allow 80/443, enable the firewall, and mirror the change in the security group (open 2222, close 22).
Frequently asked questions
Do I need a license for production?
The local dev playground is free forever. Running sites in production is covered by Pete Panel Pro, which includes production deploys, free SSL certificates, and ticket support. Enterprise builds get a custom quote.
What server size do I need?
We recommend a minimum of a Linode (Akamai) 8GB instance with 4 vCPUs, comfortably overqualified for most WooCommerce stores. Go bigger for heavier traffic and the installer scales the stack to match. See the benchmarks by machine size →
How does the free SSL work?
Point your domain’s A record at the server’s IP (that’s why the guides reserve a static IP), create the site in Pete Panel, and click Generate SSL. Certificates are issued and auto-renewed via Let’s Encrypt. Every site on the server gets its own certificate.
How do I move my playground site to production?
Create a backup in your Pete Panel dev environment, download it, and import it into any Pete Panel production environment: domains, database, and files come across in one step. To bring in a site that isn’t in Pete yet, use the Pete Panel Converter to export it into Pete format first. No manual database surgery either way. Full walkthrough: How to move a WordPress site to a new server.
Can I run several sites on one server?
Yes: multiple WordPress sites side by side, each with its own virtual host and SSL certificate. The benchmarks page shows what a single machine can absorb; most teams consolidate several production sites on one server.
Where are my database passwords and other secrets?
Every credential generated during installation lives in /opt/pete-panel/.env. Treat it like a vault key: chmod 600, never commit it, never paste it into support tickets. The cheat-sheet below shows how to read it.
What does the installer actually put on my server?
A Dockerized stack in /opt/pete-panel: Apache (MPM Event, HTTP/2), PHP 8.1–8.3 (switchable with zero downtime), MySQL, Redis object caching, phpMyAdmin, ModSecurity with the OWASP Core Rule Set, and Let’s Encrypt for SSL, plus the Pete Panel dashboard to manage it all. Nothing is installed on the host beyond Docker and the stack itself.
Where are the Docker configuration commands?
In the Docker engine-room cheat-sheet below: it lists every command to shell into the php, apache, and db containers, run WP-CLI, switch PHP versions, rebuild images, restart Apache, and enter MySQL, all from /opt/pete-panel.
Advanced: the Docker engine room
Every cloud above runs the same stack, in the same place: /opt/pete-panel. Shell into the containers for WP-CLI, logs, v-hosts, and one-off queries; this cheat-sheet applies to all platforms.
| Task | Command (from the project folder) | When / why |
|---|---|---|
| Go to the project | cd /opt/pete-panel |
The whole stack lives here: every command below runs from this folder. |
| View generated secrets | sudo cat /opt/pete-panel/.env |
Every credential the installer generated: DB passwords, API keys, tokens. Restrict with chmod 600; never commit it or paste it into tickets. |
| Start or rebuild the stack | docker compose pull docker compose build docker compose up -d |
Rebuilds any changed images and (re)launches every service in the background. |
| Open a shell in a container | docker compose exec php bash docker compose exec apache bash docker compose exec db bash |
Inspect logs, run WP-CLI, edit files quickly. |
| Switch PHP version | Set PHP_VERSION in .env (8.1 / 8.2 / 8.3), then docker compose build --no-cache php docker compose up -d php |
Zero downtime: only the PHP container is swapped. Verify at /admin/phpinfo. |
| Rebuild after a Dockerfile edit | docker compose build --no-cache apache docker compose build --no-cache php docker compose build --no-cache db |
Forces a clean image rebuild for the service you changed. |
| Restart Apache in place | docker compose exec apache apache2ctl restart |
Applies v-host changes without recreating the whole stack. |
| Where Apache keeps v-hosts | /etc/apache2/sites-available /etc/apache2/sites-enabled |
Edit in sites-available (staging), symlinked live in sites-enabled; then apache2ctl graceful inside the container. |
| Where the website files live | /var/www/html |
Apache’s docroot inside the containers; Pete itself is at /var/www/html/Pete. |
| Enter MySQL as root | docker compose exec db mysql -u root -p |
Password = MYSQL_ROOT_PASSWORD in .env. Handy for one-off queries or importing .sql dumps. |
| Delete all volumes | docker compose down -v |
Irreversible. Stops containers and removes every volume, databases included. Nuke-and-pave only. |
Ready to ship what Claude built?
The dev playground is free forever. Production is covered by Pete Panel Pro, with deploys, free SSL certificates, and ticket support included.
Your cloud isn’t listed? The installer runs on any Ubuntu 24.04 LTS server with root access. Tell us where you’re deploying →